Introduction: Mastering Screenshots on Chromebooks
In today’s digital age, taking screenshots has become a fundamental skill for users across various devices, including Chromebooks. Whether for work, education, or personal use, knowing how to capture your screen can save time and enhance productivity. This comprehensive guide will walk you through the simple yet effective methods of taking screenshots on a Chromebook, followed by a FAQ section to cover common queries.
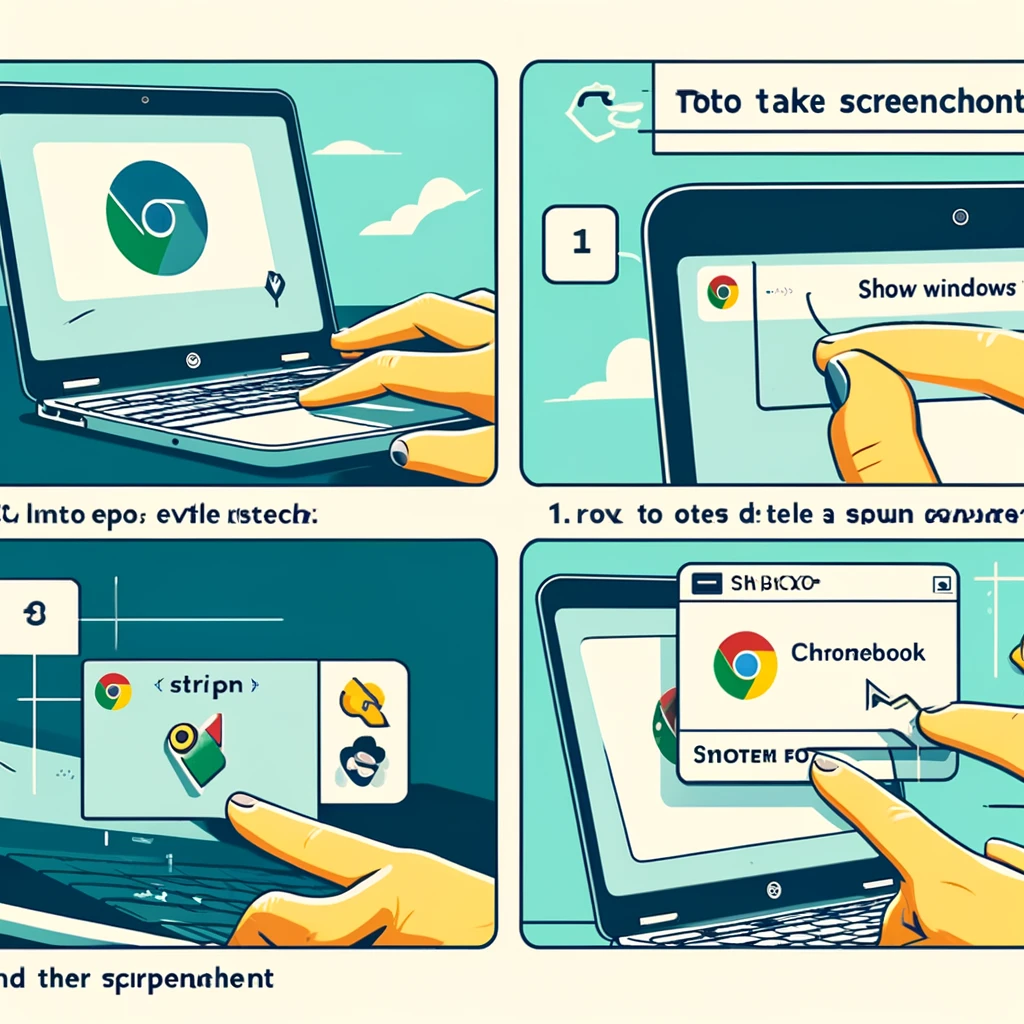
Understanding Your Chromebook’s Screenshot Functionality
Chromebooks, powered by Google’s Chrome OS, offer a streamlined and intuitive approach to computing, including taking screenshots. Whether you need to capture an entire screen or just a portion, Chrome OS has got you covered.
Full-Screen Screenshot
- Step 1: Find the “Show Windows” key on your keyboard, which typically features a rectangle with two lines on the right side.
- Step 2: Press the Ctrl + Show Windows keys simultaneously to capture a full-screen screenshot. You’ll find the screenshot automatically saved in your “Downloads” folder.
Partial Screenshot
- Step 1: If you need to capture a specific area of your screen, press Ctrl + Shift + Show Windows keys together.
- Step 2: The cursor will change to a crosshair. Click and drag to select the area you wish to capture. Upon releasing the mouse button or touchpad, the screenshot of the selected area will be saved automatically.
Screenshot with a Stylus
- For Chromebook users with a stylus, there’s an even simpler method. Select the “Capture Screen” option from the stylus tools menu to take a full-screen screenshot.
Accessing and Sharing Your Screenshots
Once you’ve captured your screenshot, accessing and sharing it is straightforward. Navigate to the “Downloads” folder through the Files app on your Chromebook. From there, you can view, edit, or share your screenshots as needed.
FAQs on Taking Screenshots on Chromebooks
- How can I take a screenshot if my Chromebook doesn’t have a Show Windows key?
- On some Chromebooks, particularly older models, you might not find a dedicated Show Windows key. In such cases, you can use the Ctrl + F5 keys to capture a full-screen screenshot and Ctrl + Shift + F5 for a partial screenshot.
- Where do screenshots go on a Chromebook?
- Screenshots on Chromebooks are automatically saved in the “Downloads” folder, accessible through the Files app.
- Can I directly edit screenshots on my Chromebook?
- Yes, Chrome OS provides basic editing tools. Open your screenshot in the Files app, click on the pen icon, and you’ll have options to crop, rotate, and adjust brightness.
- Is it possible to change the default screenshot save location?
- As of the latest Chrome OS updates, the default save location for screenshots is the “Downloads” folder, and this cannot be directly changed. However, you can manually move screenshots to Google Drive or any folder within the Files app for organization.
- Can I use external keyboards to take screenshots on a Chromebook?
- Yes, if you’re using an external keyboard without a Show Windows key, you can use the Ctrl + F5 combination for a full-screen screenshot and Ctrl + Shift + F5 for a partial screenshot.
Conclusion: Enhancing Your Chromebook Experience
Mastering the art of taking screenshots on your Chromebook can significantly enhance your productivity and ability to share information. Whether it’s for capturing important documents, saving snippets of a video, or reporting issues, the versatility of Chrome OS makes it a seamless process. With this guide, you’re now equipped to capture anything on your screen efficiently.
Read more informative articles!